 Click to Enlarge
The Art Kit
Op-Art
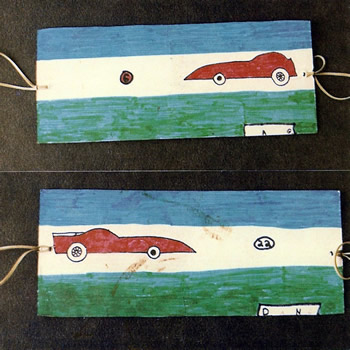
1. OP-ART
Materials: White card stock Felt tip pens
Paper punch
Rubber bands
Process: Draw part of complete picture on each side of card — Punch one
hole in the middle of each end — Insert rubber band — Flip back
and forth to create optical illusion of one picture.
Click to Enlarge
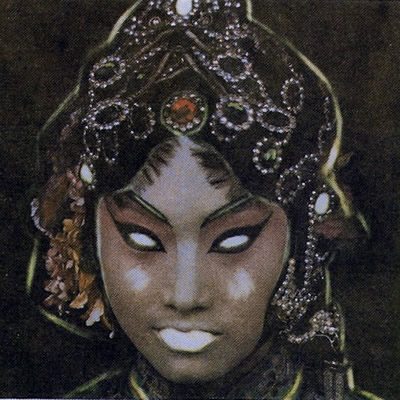
2. OP-ART
Materials: Magazine portraits Eraser
Scissors
Glue
Cardboard
Process: Glue portraits to cardboard and erase features.
 Click to Enlarge
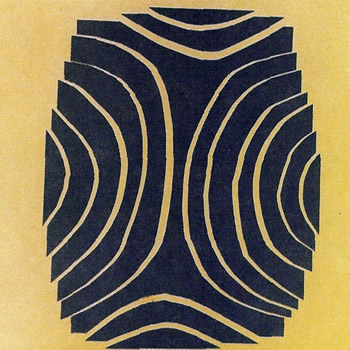
3. OP-ART
Materials: Construction paper (any two colors) Glue
Scissors
Process: Cut design, fold out and glue in position.
 Click
to Enlarge
Click
to Enlarge
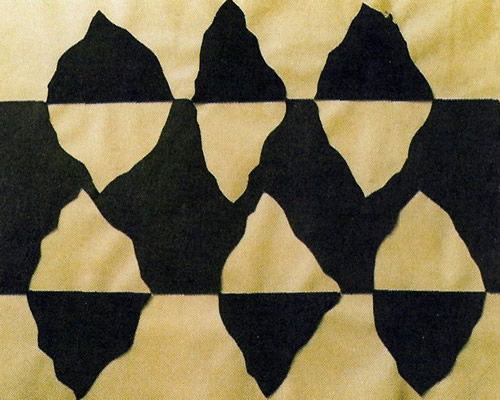
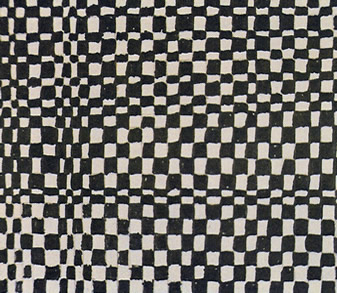
4. OP-ART
Materials: Black & White
construction paper Glue
Scissors
Process: Cut paper and glue in a slightly spaced position.
 Click to Enlarge
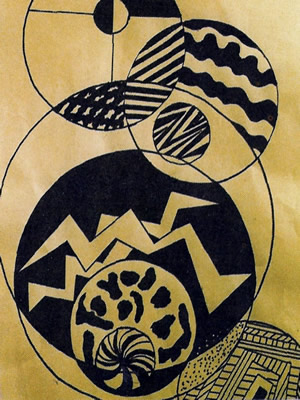
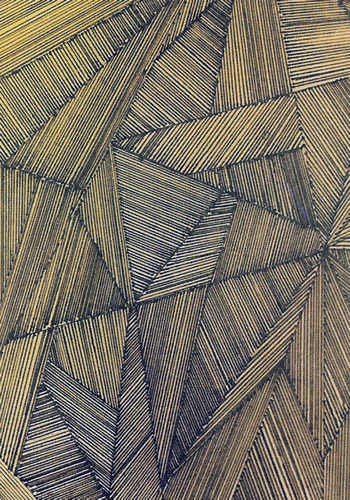
5. OP-ART
Materials: India Ink Pen or
Black felt tip pen
White paper
Compass
Process: Draw different size circles which touch, intersect or float free —
In each shape created by the circles draw a design.
 Click to Enlarge
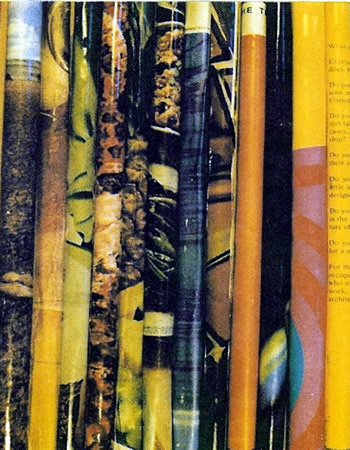
6. OP-ART
Materials: Colorful magazine pages Glue
Cardboard
Process: Tear page from magazine — Roll each page tightly and glue side
by side.
 Click to Enlarge
7. OP-ART
Materials: Paper
Two magazine pictures (Full page, same size) Ruler
Pencil
Scissors
Glue
Process: Cut 1/2" to 1" strips — Keep each picture's strips
in order — Alternate the two picture's strips as they are glued across
the paper — Fold in accordion style and view each side.
 Click to Enlarge
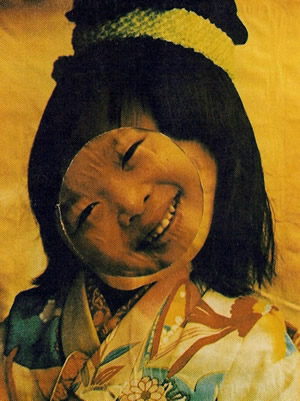
8. OP-ART
Materials: Magazine portrait Scissors
Glue
Compass
Pencil
Process: Draw circle in nose, eye, or mouth area and turn slightly to create
distortion.
 Click to Enlarge
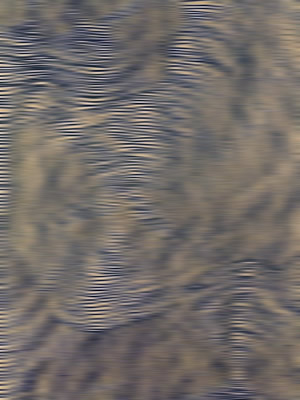
9. OP-ART
Materials: India I n k
Pen or
Black felt tip pen White paper
Ruler
Process: Draw lines, squares, or swirls close together to create an optical
allusion of movement.
 Click
to Enlarge
Click
to Enlarge
Virtual Homeschool International